


Jersey is so hot right now. I don't know about you, but I walk through the stores and think gee, this is all raw edges...no hems...so simple. I found some jersey knit on clearance and decided to play.
What you'll need to make one: 20" of jersey knit from a bolt (or if you're feeling up to it...use an old T-shirt!), thread and your machine. Ball point needles also make things go much smoother...
What you'll need to make one: 20" of jersey knit from a bolt (or if you're feeling up to it...use an old T-shirt!), thread and your machine. Ball point needles also make things go much smoother...

Start with ball point needles. They have a rounder tip that allows the needle to push through the knit without tearing the fabric.

Cut 3 pieces of jersey the following sizes:
one 24" x 12" and two 58" x 4"


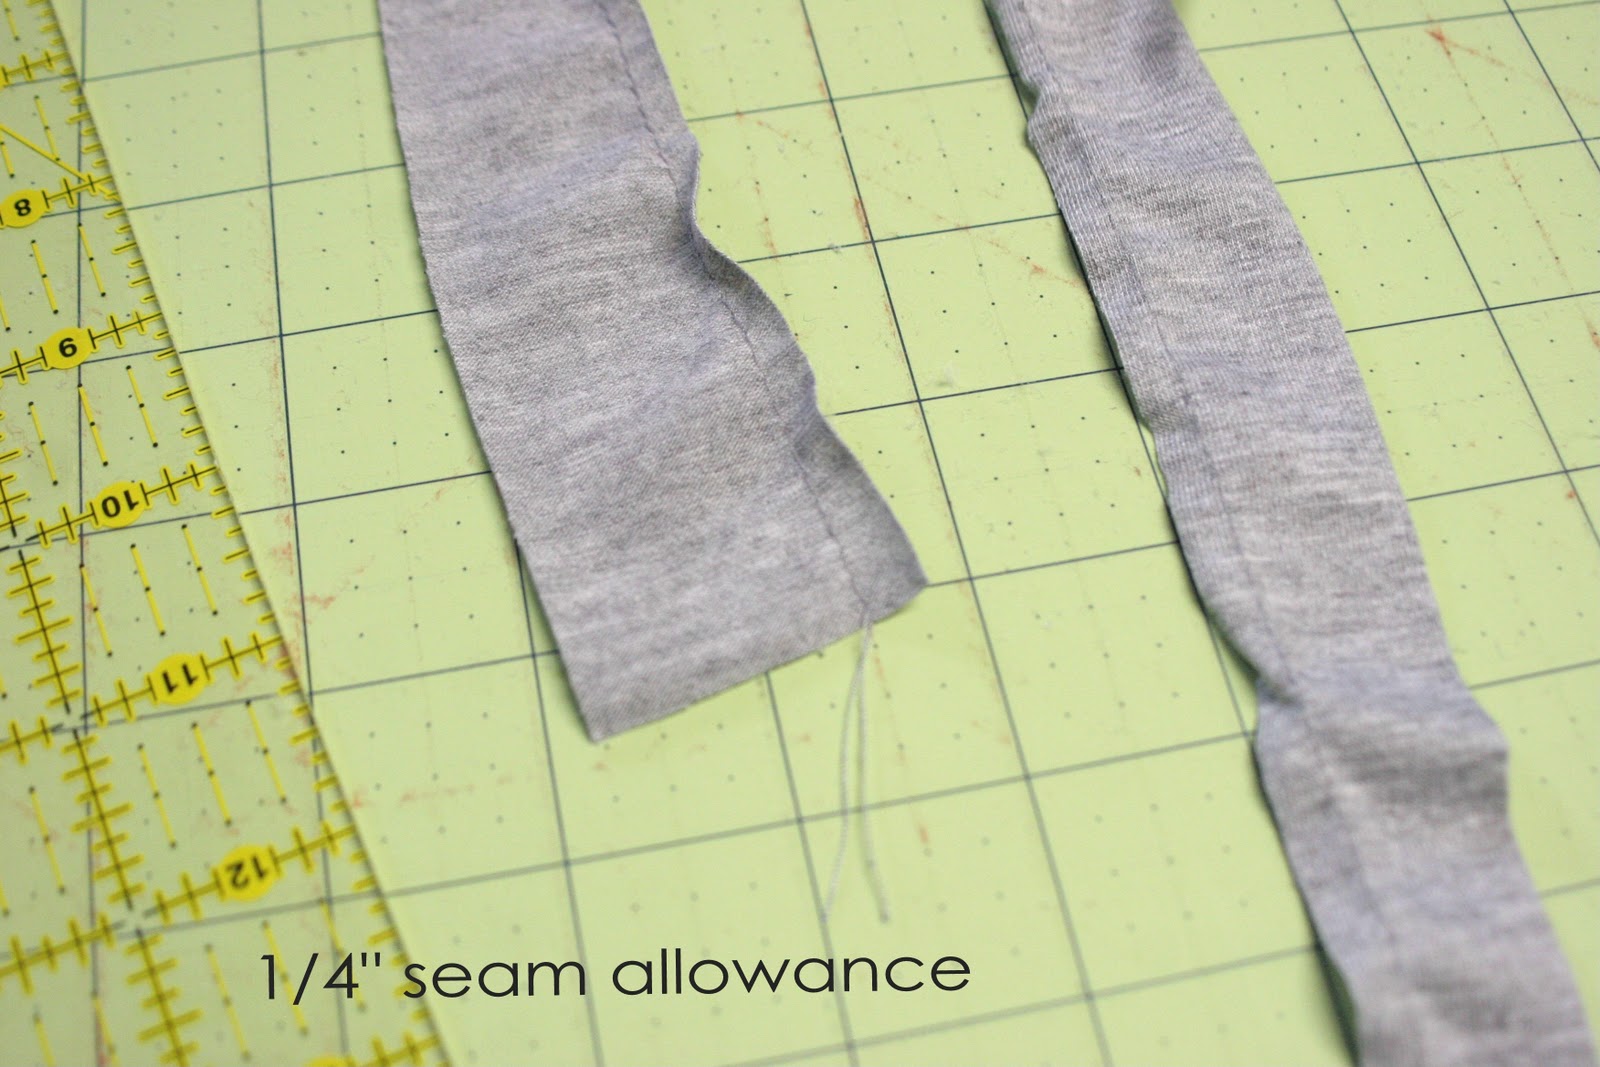
Fold each of the pieces in half from side to side with right sides together and sew up the edges using a 1/4" seam allowance. If you don't have a serger, follow with a zig zag stitch for extra strength.
Using a long stitch length, baste the entire length (5/8" from the edge) of the 58" piece starting and ending at the seam. To gather the first ruffle, choose either the top or bottom thread at the end of the 58" x 4" piece and pull it gently. This will gather the fabric creating the ruffles. Continue to pull the same thread until the piece measures approximately 12" wide.


Line up seams and slip the ruffle onto the main skirt piece. Using a ruler, measure the length from the top of the skirt to the top of the ruffle. Adjust it until this measurement is 9 1/2", pin it in place.

Switching back to a standard stitch length, attach the bottom ruffle by sewing directly on top of the basting stitch starting and ending at the seam. Be sure to back stitch at the end.

Repeat the same ruffle making process for the second ruffle. When attaching it to the skirt, the measurement from the top of the skirt to the top of the second ruffle should be 7". Pin the ruffle in place and sew it on the same way you did the first.

Flip the skirt inside out. Roll the top out and down 1 1/2" so that the right side is showing just a bit at the top.
You may want to pin this down to help it stay in place while you sew, I didn't.

Staying about 1/4" from the raw edge of the fabric (not the fold), use a straight stitch to stitch all the way around the skirt to create a casing for the elastic. Start at the seam and end about 2" from where you began. Be sure to leave this space, it is where you will insert the elastic.

Cut your elastic to the length you need (I just wrapped it around my kiddo) and insert a safety pin onto one end.

Using the 2" space, insert the pin and elastic and work it around the entire casing. Finish by pulling it out the same space. Be sure to catch the tail end so that it doesn't disappear into the casing...I've done that way too many times!

Double check to make sure the elastic hasn't twisted then overlap the two ends. Use a zig zag stitch and very short stitch length (or button hole length) to sew the ends together.

After the ends have been sewn together, stretch the elastic out so that it disappears into the casing.

Use a straight stitch to sew up the 2" hole left in the casing.

Voila! All done and super cute.
Now for a few ideas you can use for those scraps...
1) Headbands:

Cut 3 strips. The length should be the circumference of your kiddos' head (for a wrap around) or the distance from end to end of a plastic headband.

Braid then tie the ends together for a wrap around or use hot glue to attach to a plastic headband.
or
2) Flowers that can be attached to skirt or headband/clip:

Cut strips of fabric so that they are 12" long, wide on one end and skinny on the other.
Baste along the edge and gather by pulling the threads. Beginning with the smaller end, start rolling the fabric into a rose shape. Add another strip if you want a larger flower.

Use a needle and thread to stitch the layers together under the bottom side of the flower. This will take several stitches to hold...you could also use fabric glue. Attach to your skirt or to an alligator clip for hair.
Let me know if you have any confusion or questions, I am happy to help.
Enjoy!

2 comments:
Great tutorial. you know I am going to be whipping one of these out soon. Love the ideas for the extra material as well.
Hello! I just saw this tutorial on pinterest and I have a few questions. I know you said to just wrap the elastic around the child, but I making this for a 3 year old and a 10 year old...how did you decide how much fabric to start with? What age/size child was this one made for in the tutorial? Thanks so much!
Post a Comment